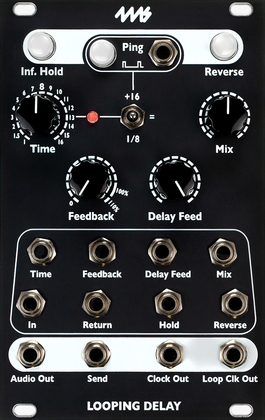
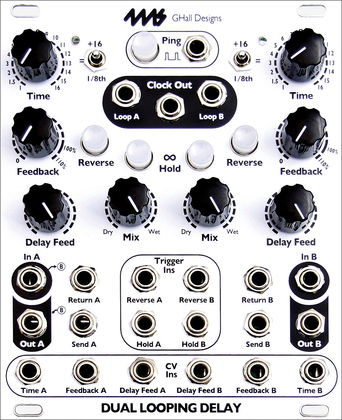
| DIY Looping Delay Kit [LD Kit] |
Do-It-Yourself Kit for the Looping Delay module.
Crystal-clear clock-synced delay for looping up to 90 seconds, echoes, sound-on-sound, Karplus-Strong synthesis, and more.
Temporarily out of stock, but available from our dealers!
$175.00
DIY Kit:
- Easy assembly: all through-hole components. No SMT or wiring
- Perfect kit for beginners and experts alike
- 48kHz, 24-bit low-noise audio: same hi-fidelity as other 4ms modules
- DSP chips and processor are pre-soldered onto a separate plug-in board
Features
- Loop or echo time is synchronized to a clock
- 87 seconds of delay/loop time maximum
- 48kHz/24-bit sampling rate, loop recorded at 16-bit (24-bit optional)
- Extremely quiet, low noise and low jitter design
- Tap tempo button and clock Ping input set the basis for one "beat"
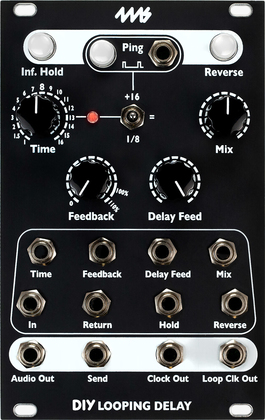
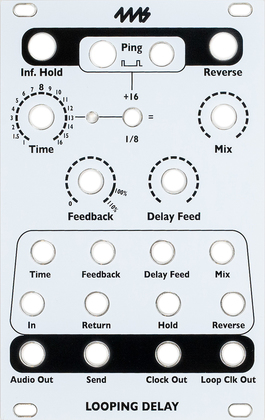
- Delay/loop time set as a number of musical beats (or fractions of beats) using the Time knob, switch, and CV jack
- Sample-accurate clock output for perfect synchronization
- Loop clock output
- Time switches change range of Time knob from 1/8th notes up to 32 bars
- Digital feedback, up to 110%
- Delay Feed control, independent of dry/wet signal mix
- Infinite Hold mode disables recording input and fixes regeneration at exactly 100%
- Reverse mode plays memory contents backwards
- With an infinite loop locked, knobs or CV can "window" around memory, by shifting the loop
- Trigger inputs for toggling Infinite Hold and Reverse
- Send and Return for applying effects to feedback with external modules
- CV jacks to control Time, Level, Feedback and Dry/Wet Mix
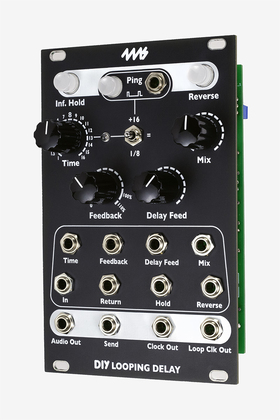
- 16HP Eurorack module
Included with the DIY Looping Delay Kit:
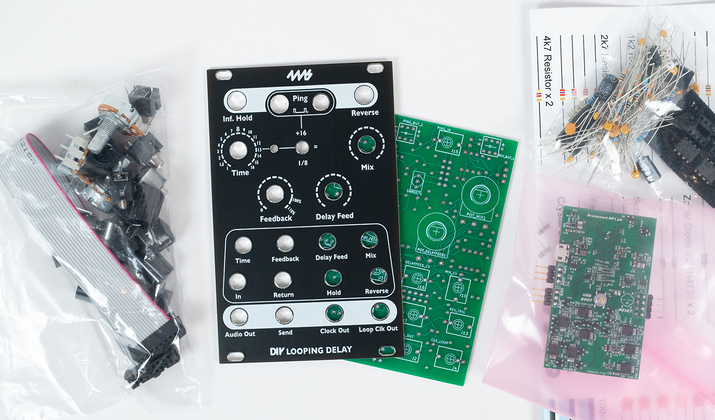
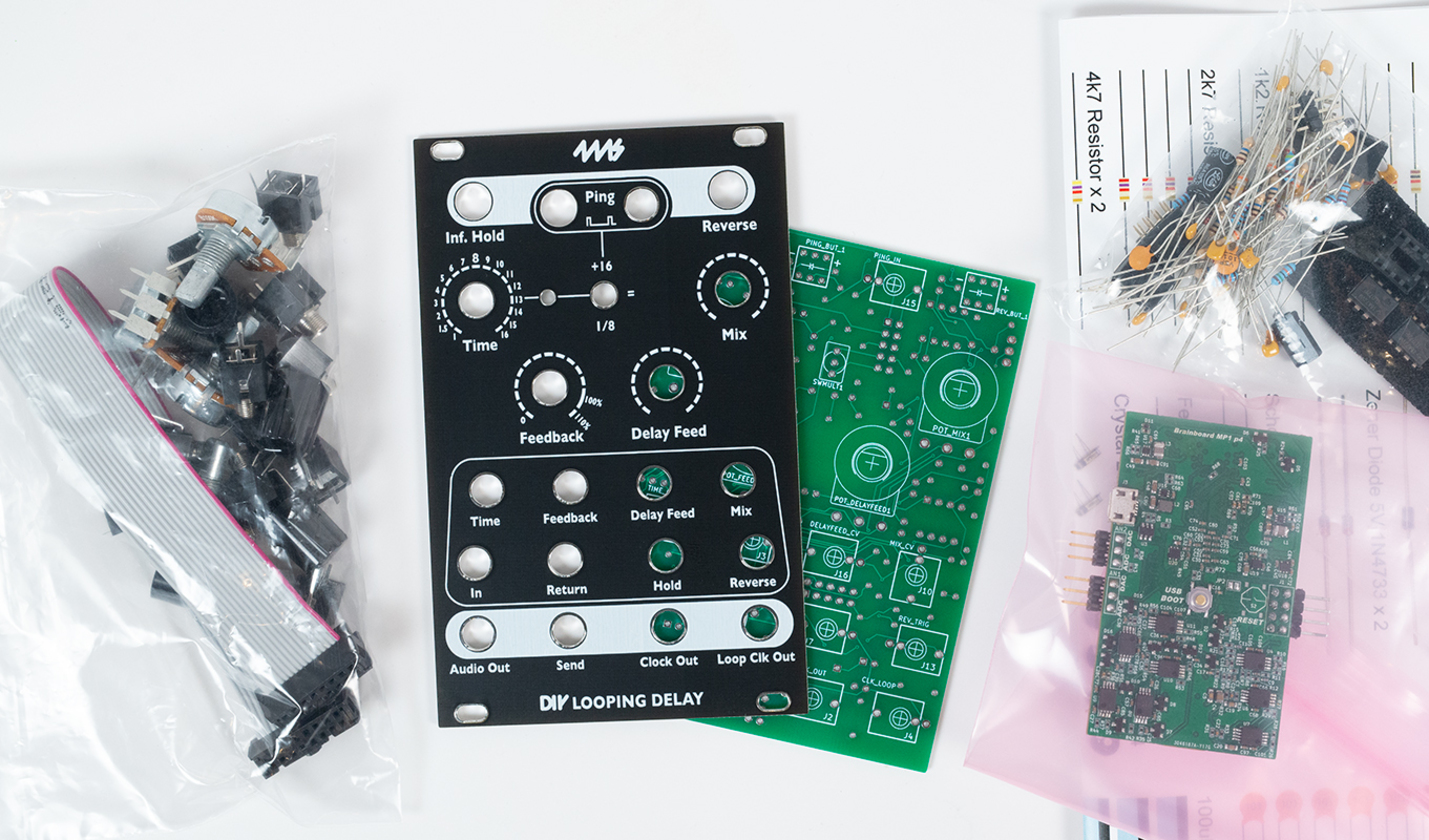
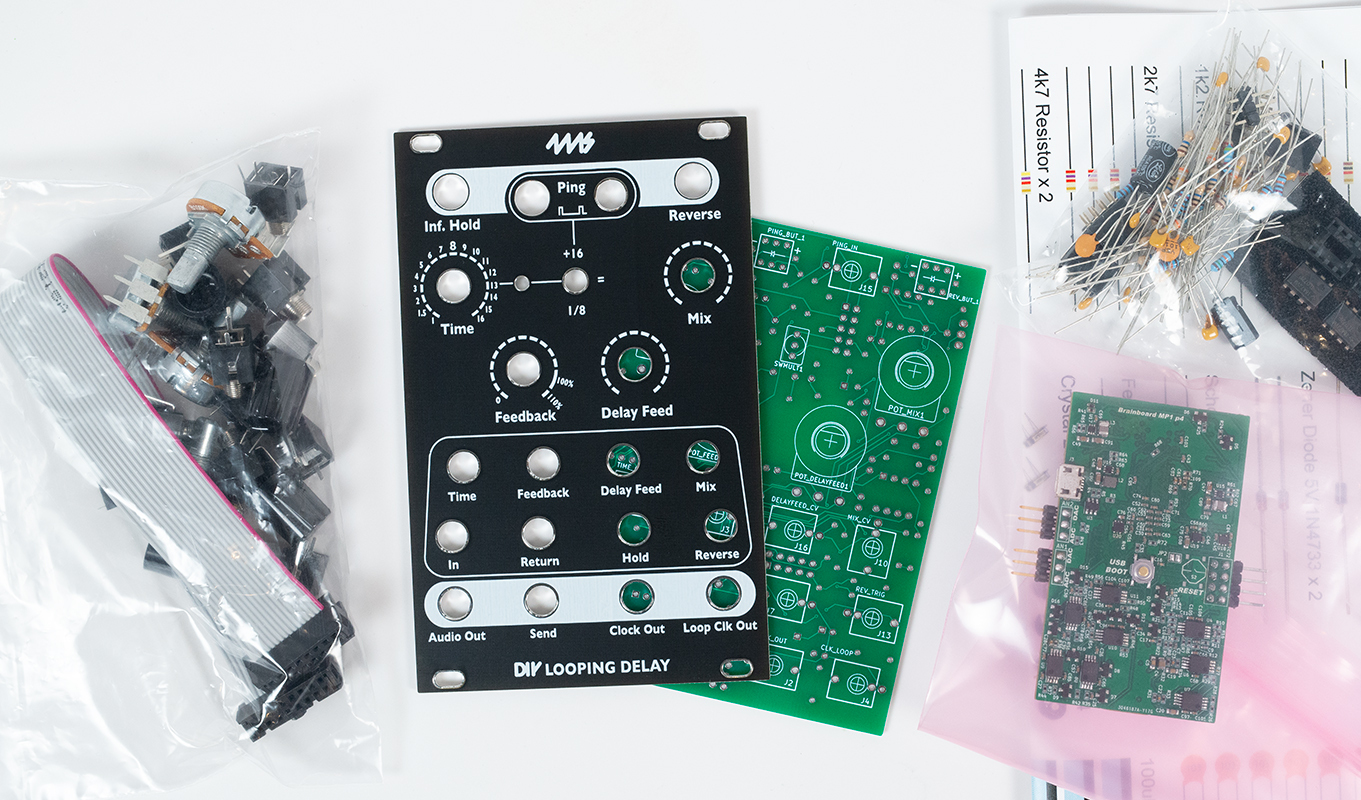
- Main PCB
- Faceplate
- All components required for assembly (resistors, capacitors, diodes, ICs, sockets, headers, jacks, buttons, potentiometers, knobs)
- Pre-programmed and pre-soldered "DSP Brain-Board"
- SD adaptor
- 16-to-16 pin power cable
- M3 screws
- Soldering iron
- Solder
- Snips
- Module Size:
- 16 HP Eurorack format module
- 16-pin Eurorack power header
- 1.3" (33mm) maximum depth with power cable
- Power consumption:
- +12V: 110mA
- -12V: 45mA
- +5V rail: not used
- Connect red stripe of power cable towards the bottom of the module, which is marked with a white stripe and the words -12V and POWER

